Summer arrives fast in Texas. One week you're leaving the windows open, and the next your AC is running around the clock. The homeowners who stay comfortable — and avoid emergency repair calls — are the ones who prepare before the heat hits.
This spring HVAC preparation checklist walks you through everything you should do before the cooling season begins. Some steps are quick DIY tasks; others need a professional. Together, they protect your comfort, your equipment, and your energy bills.
1. Schedule a Professional AC Tune-Up
This is the single most important step on the list. A professional spring tune-up restores efficiency, catches failures early, and pays for itself in lower energy bills within weeks.
A complete tune-up includes:
- Cleaning the condenser and evaporator coils
- Checking and adjusting refrigerant charge
- Inspecting electrical connections and capacitors
- Lubricating motors and moving parts
- Calibrating the thermostat
- Clearing the condensate drain line
- Verifying temperature split across the coil
Skipping this is the #1 reason homeowners face their first breakdown on the hottest day of the year. Book a tune-up before peak season and skip the line.
2. Replace Your Air Filter
A clogged filter forces your AC to work harder from day one of cooling season. Start fresh with a clean filter — and set a reminder to check it every 30 days during summer.
Most homes need a MERV 8–11 filter replaced every 60–90 days. Homes with pets, allergies, or heavy cooling use should change monthly. Read our complete air filter guide for the right schedule and MERV rating for your home.
3. Clean Around the Outdoor Condenser Unit
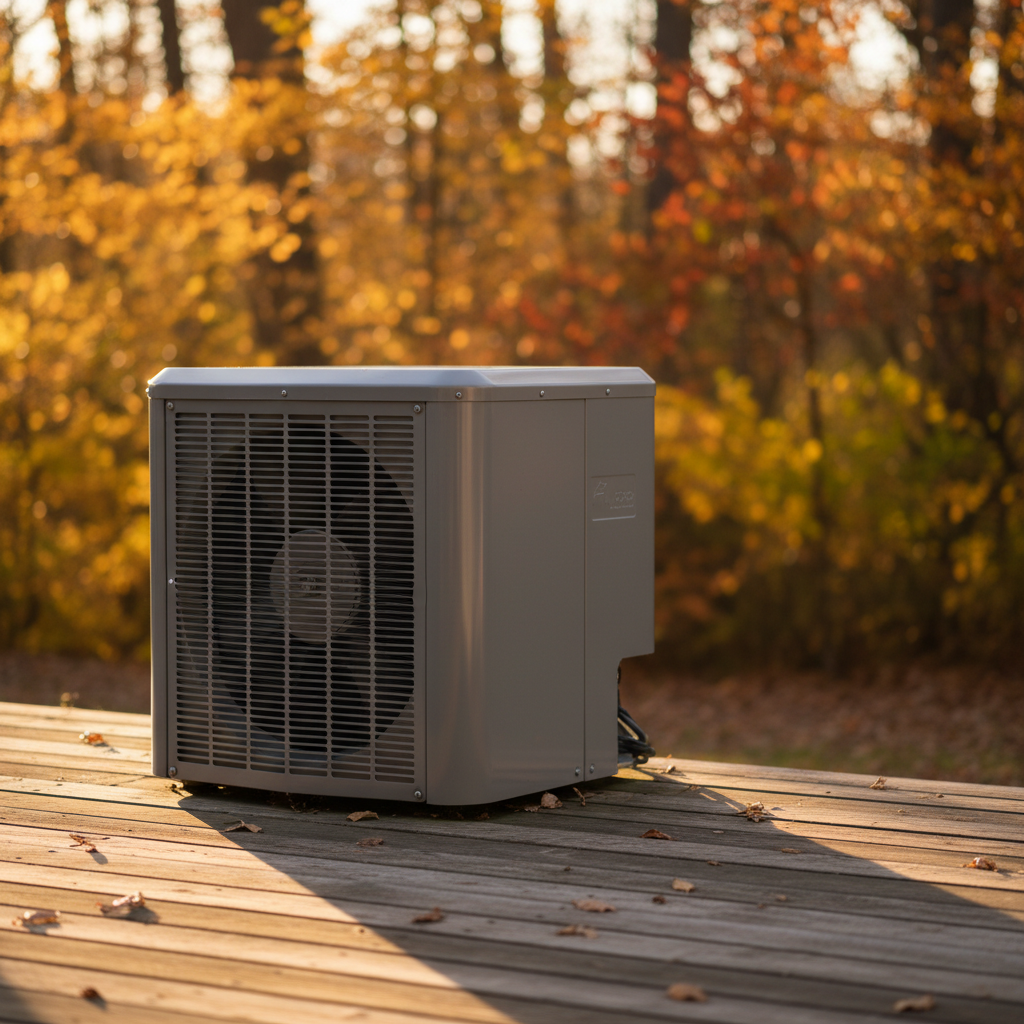
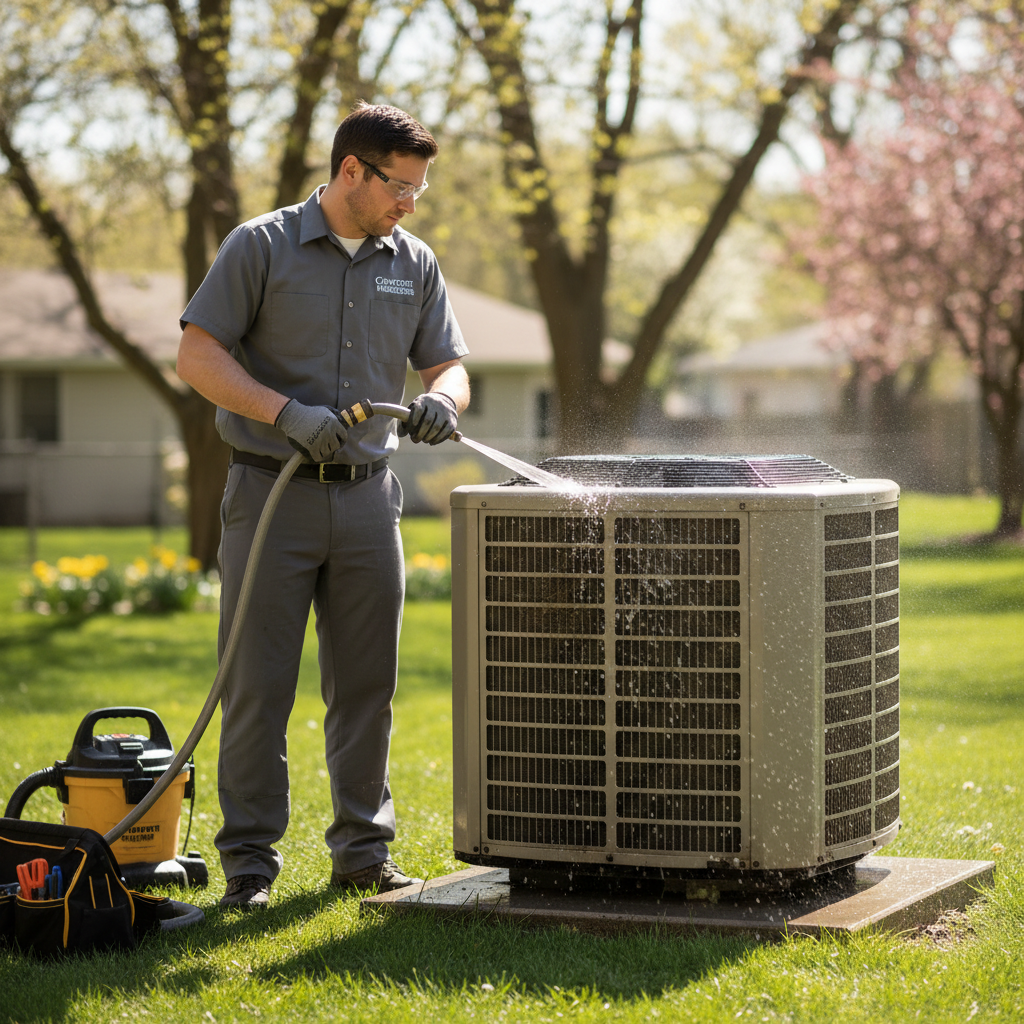
Your outdoor condenser spent the winter collecting leaves, dirt, grass clippings, and debris. A dirty condenser can't release heat efficiently — increasing energy use by up to 30% and risking compressor damage.
Before cooling season starts:
- Clear 2 feet of clearance around all sides of the unit
- Remove leaves, grass, and vegetation from the fins
- Hose down the condenser from the top down with a gentle stream
- Trim back shrubs and bushes that block airflow
- Never enclose the unit in a decorative fence without proper ventilation gaps
For deeply clogged coils, a professional chemical cleaning restores performance fully.
4. Check and Calibrate Your Thermostat
If you upgraded to a smart thermostat over the winter, verify it's set up for cooling season:
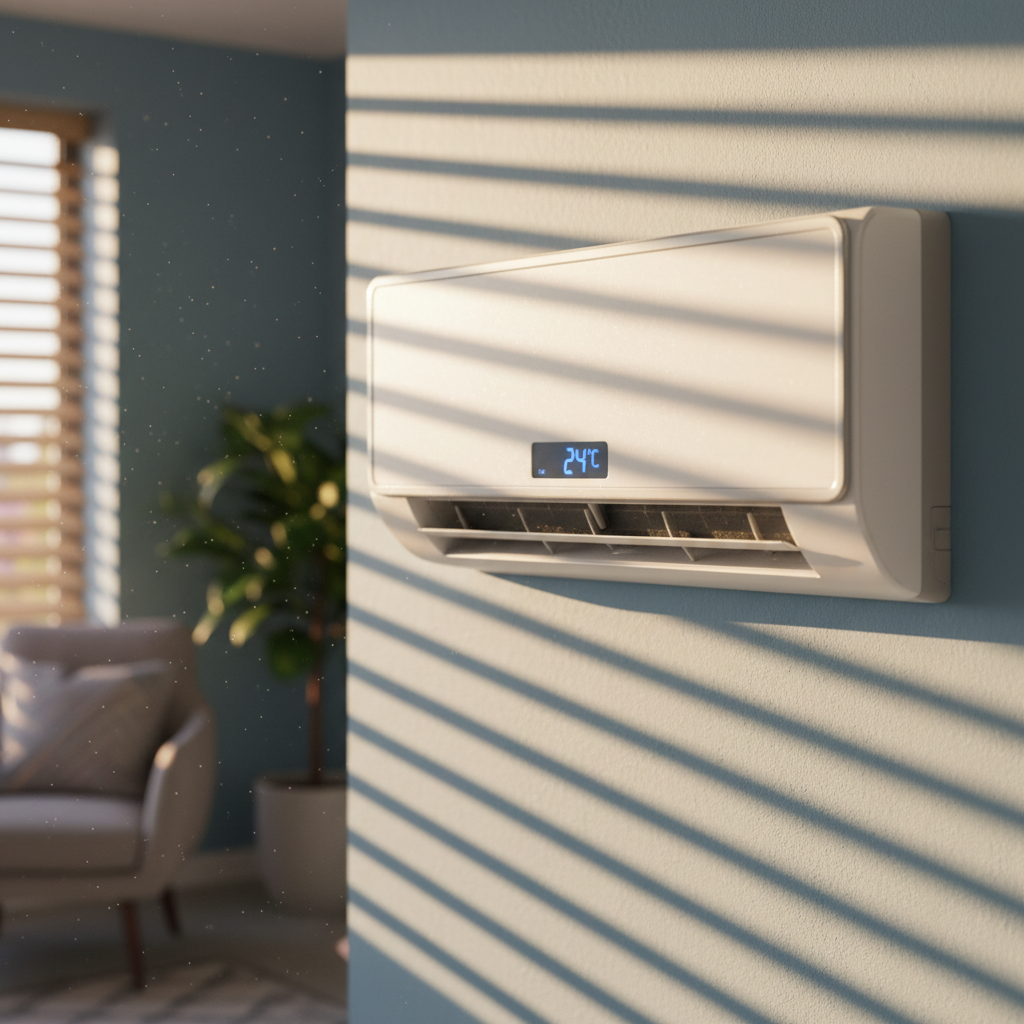
- Switch from HEAT to COOL mode
- Set your summer schedule (78°F when home, 85°F when away)
- Test geofencing and remote access from your phone
- Replace batteries if the display is dim
If you're still using a manual thermostat, spring is the perfect time to upgrade — smart thermostats save 10–23% on cooling costs and pay for themselves within two years.
5. Inspect and Clear the Condensate Drain Line
Your AC removes humidity from your home, and that water drains through a PVC pipe. Over winter, algae and debris can clog the line — and a clog shuts the system down via a safety float switch.
Test the drain by pouring a cup of water into the pan. If it drains slowly or backs up, clear it with a wet/dry vacuum or a plumber's snake. A clogged drain can overflow and ruin drywall, ceilings, and flooring.
6. Test the System Before You Need It
Don't wait for the first hot day. On a mild spring afternoon, run your AC for 15–20 minutes and check:
- Cool air flowing from all supply registers
- No unusual sounds (grinding, squealing, rattling)
- No unusual odors (musty, burning, chemical)
- Thermostat reaching setpoint within a normal cycle
- Even temperatures between rooms
If anything seems off, book a diagnostic now — while appointment windows are still wide open.
7. Seal Air Leaks Around the Home
Cooled air escaping through gaps forces your AC to work overtime. Before summer, check:
- Weatherstripping around exterior doors
- Caulking around window frames
- Foam gaskets behind outlet covers on exterior walls
- Gaps where pipes and ducts enter the home
The EPA estimates that sealing air leaks saves 10–20% on cooling costs. It's a weekend DIY project with permanent payback. See our guide on lowering your summer electric bill for more.
8. Check Attic Insulation Levels
Your attic absorbs enormous heat on sunny days — temperatures up there can reach 150°F. Without enough insulation, that heat radiates into your living spaces and overloads your AC.
The EPA recommends R-38 to R-60 (roughly 12–20 inches) for most southern climates. If your attic has less, adding insulation is one of the best long-term investments for summer comfort and efficiency — saving 10–50% on heating and cooling.
9. Consider Upgrading Aging Equipment
If your AC is more than 10–12 years old, spring is the time to plan for replacement. Modern systems reach 16–22 SEER, cutting cooling costs by 30–50% compared to aging 10 SEER units. See our guide on when to replace your AC for the full decision framework.
With financing options, many homeowners find the monthly energy savings offset the payment — making a new system cash-positive from month one.
10. Enroll in a Maintenance Plan
The best way to stay ahead of seasonal prep is to never have to think about it. Our maintenance plan includes:
- Bi-annual tune-ups (spring cooling + fall heating)
- Priority same-day dispatch during peak season
- 15% repair discount on all parts and labor
- No overtime fees — evenings and weekends at no extra cost
Membership typically pays for itself in energy savings alone, before any repair discounts. Book a tune-up today and we'll get your system summer-ready.